
Add visual interest to your polymer clay jewellery by shaping it in three dimensions rather than leaving it completely flat. There are dozens of everyday objects you can cure polymer clay on to give it interesting dimension. Here are some of my favourites, with some other tips at the end.
DOMED SHAPES
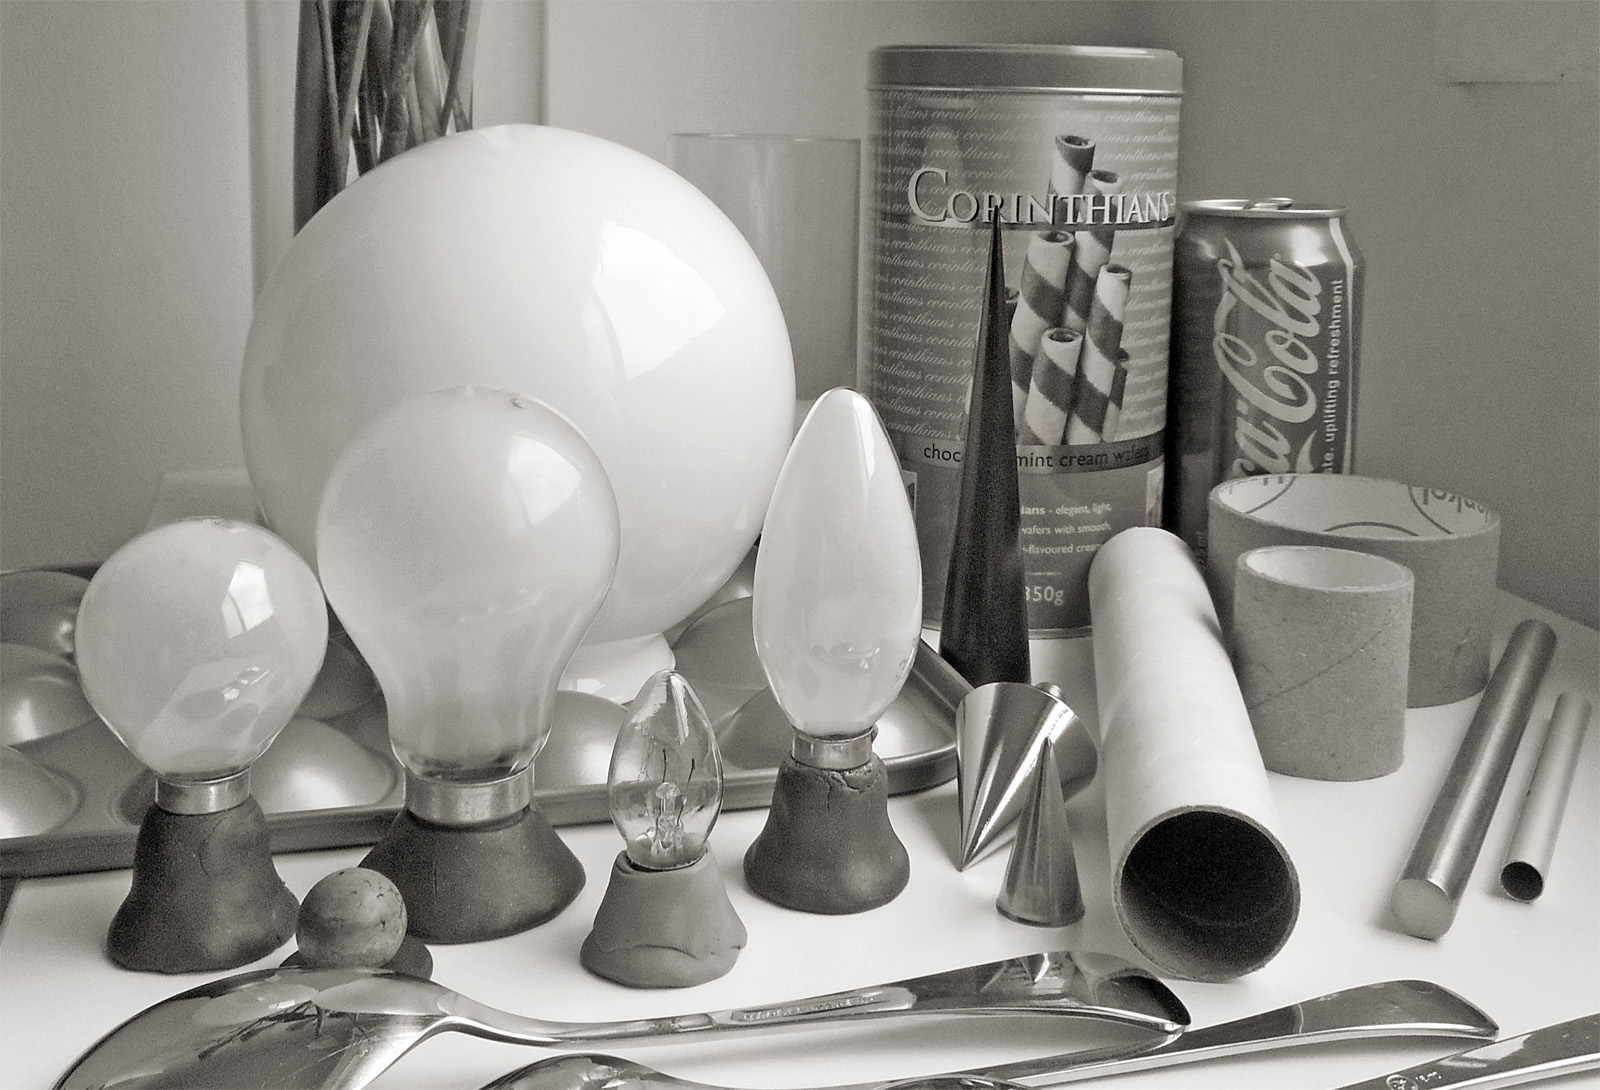
For domed shapes with different diameters and degrees of curvature:
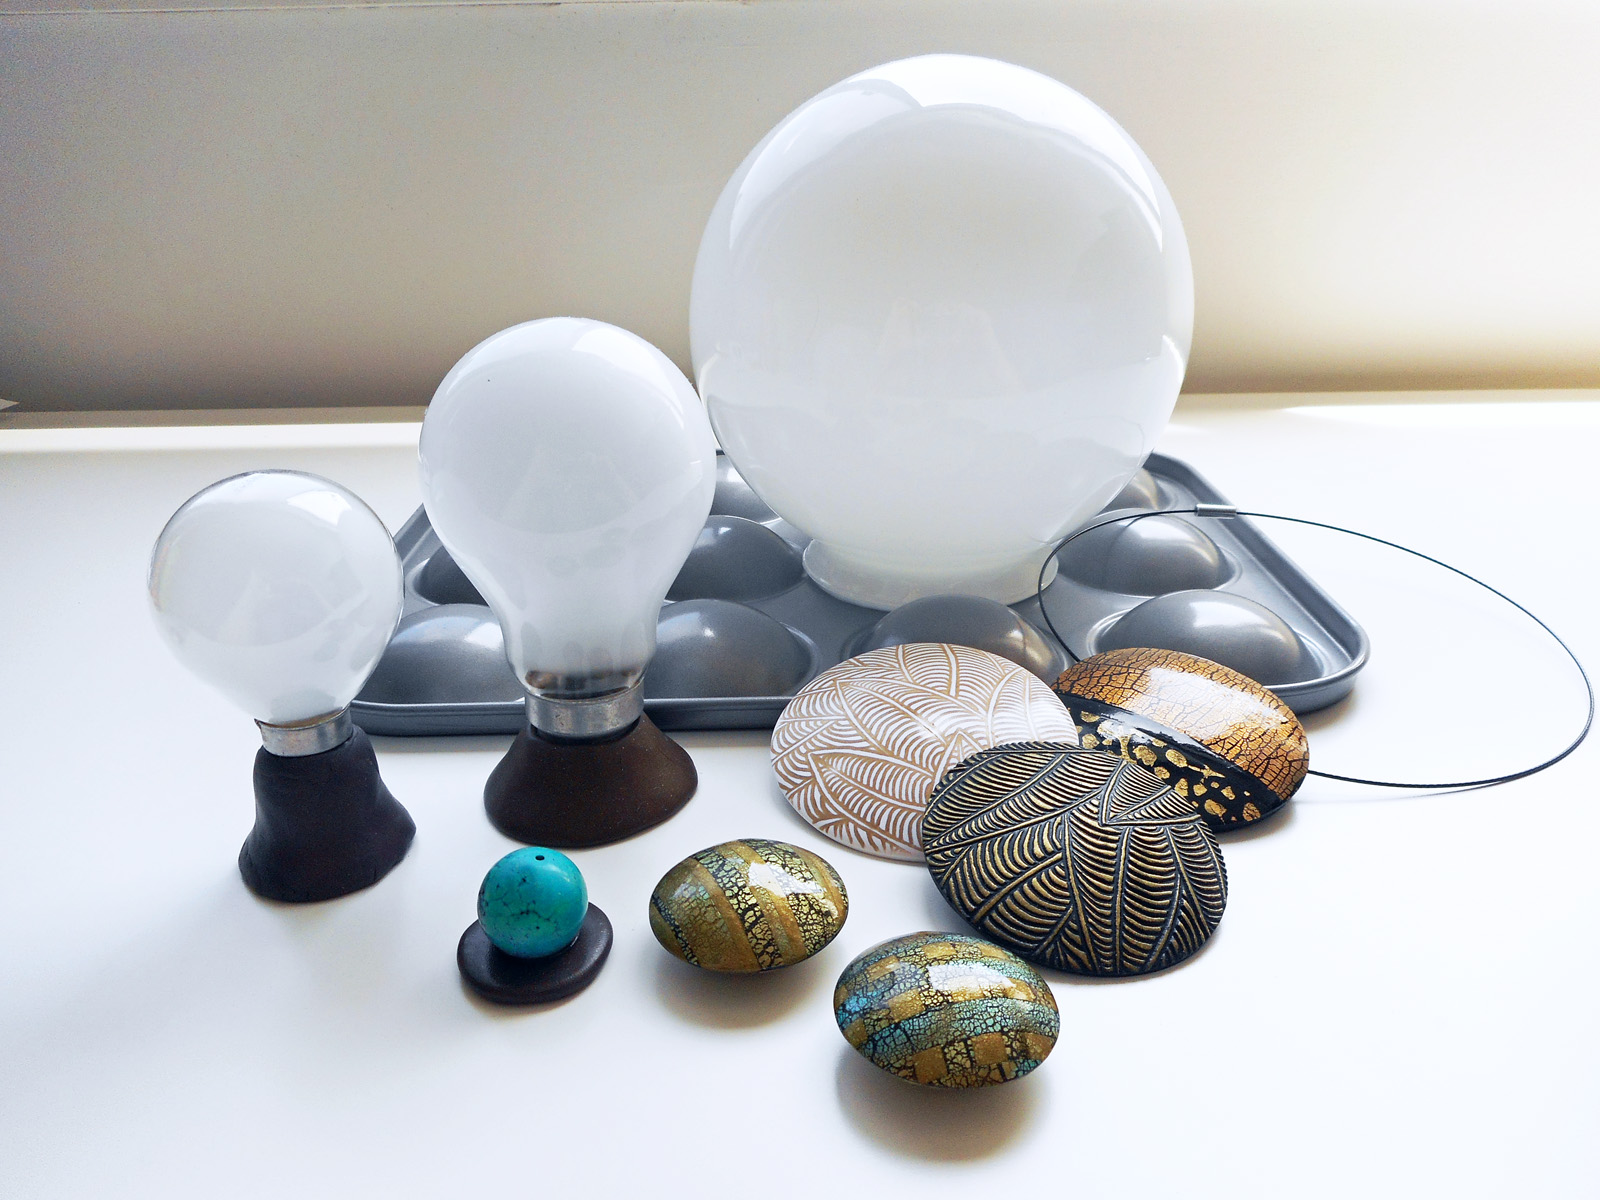
| Light bulbs | the incandescent kind with a filament, which are safe to put into the oven; press scrap clay around the base to hold the bulb upright; for bulbs with screw fittings you can screw them into and out of cured scrap clay bases as required |
| Marbles in different sizes | press them into a bit of scrap clay so they don’t roll around in the oven; small marbles are good for making curved fronts for earrings or ring toppers |
| Glass or stone beads | I use damaged (or ugly!) glass and stone beads as baking forms; these are often good sizes for earrings and ring toppers; as with marbles, I press them into a bit of scrap clay to stop them from rolling around |
| Tart pans | the round-bottom kind, obviously! :D use them upside down for domes, or the normal way up for cups |
| Globular glass light fittings | just the glass part; these are great for gentle curves if they fit inside the oven you use for polymer clay without getting too close to any heating elements (see below for a suggestion if they don’t); I use these in 15cm and 20cm diameters |
| Metal and glass bowls | IKEA are a good source |
CYLINDRICAL CURVES
For cylindrical curves (i.e. where the curve is only in one direction):
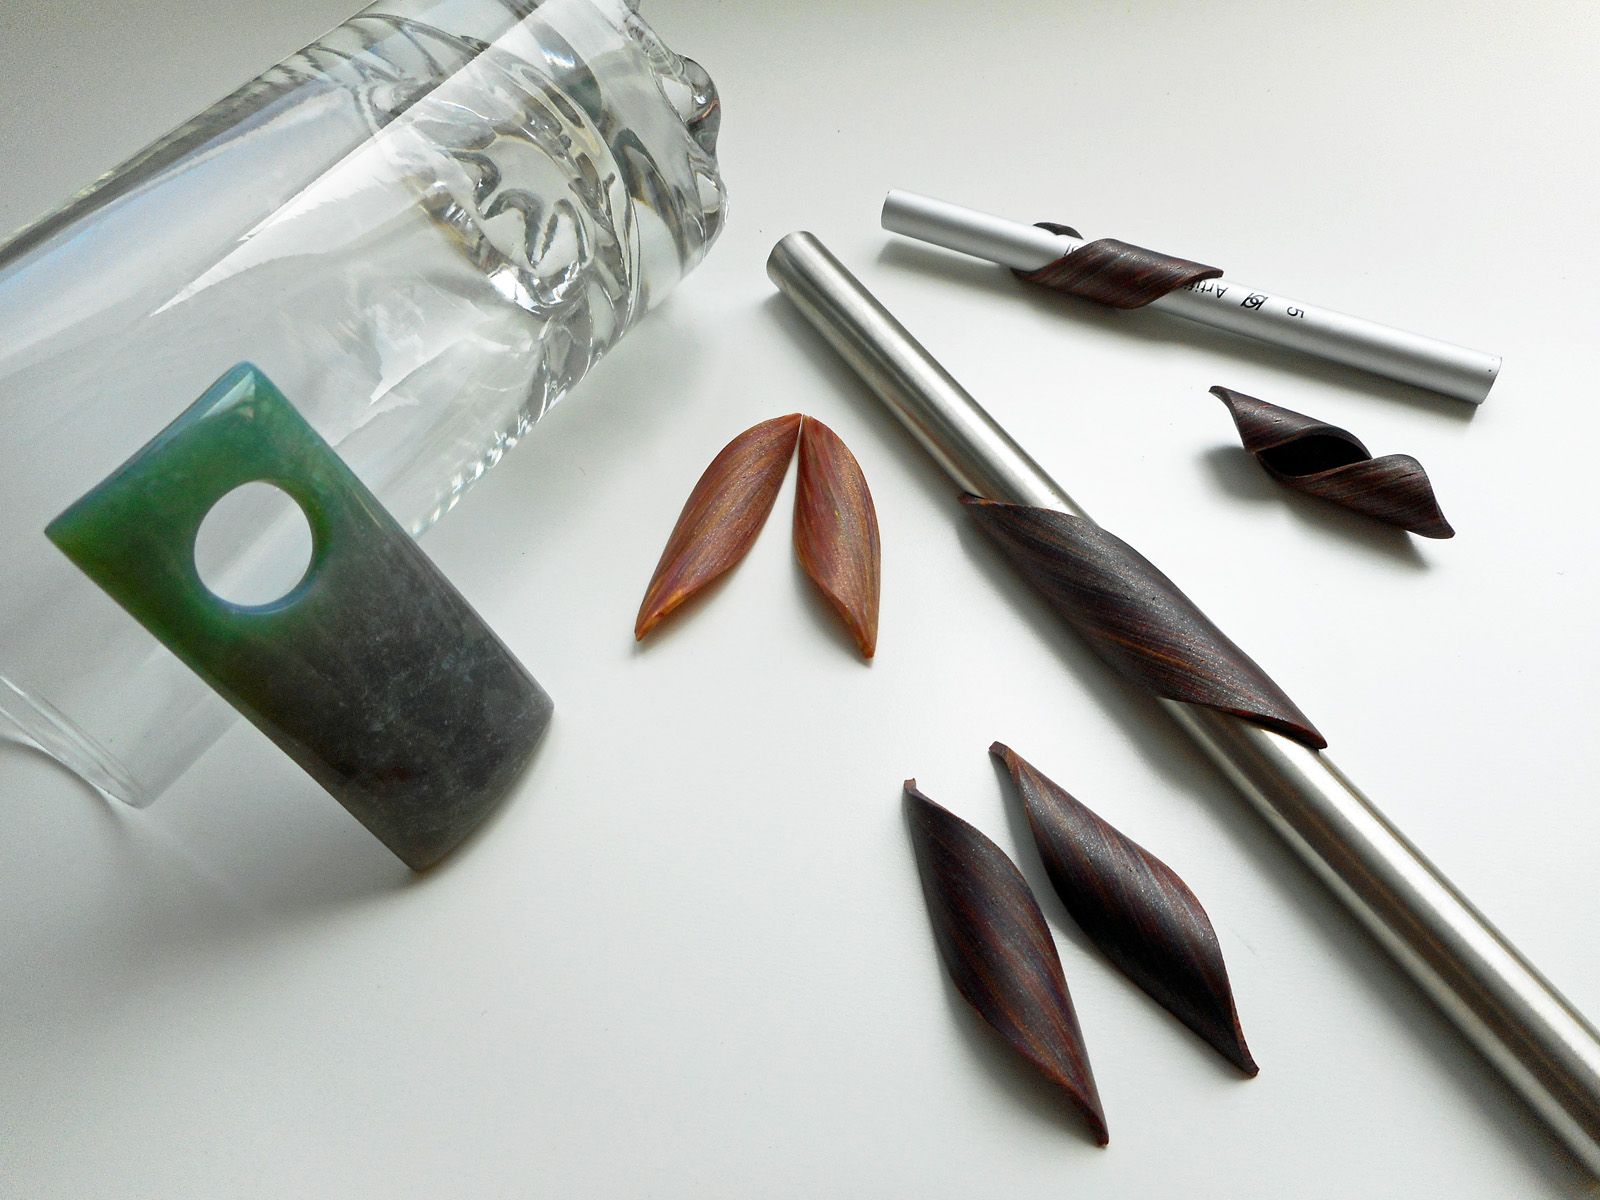
| Glass jars | if they don’t fit in your oven vertically lie them on their side and use a few pieces of scrap clay to stop them from rolling around |
| Biscuit tins | handy because you can store other shaped forms inside them when not in use, but leave the lid off when you put them in the oven! |
| Soft drink and other cans | if they don’t fit in your oven vertically lie them on their side and use a few pieces of scrap clay to stop them from rolling around (soft drink cans are a nice size for making bangles on too!) |
| Straight-sided drinking glasses | as with the others above, use scrap clay if necessary to prevent rolling |
| Cardboard tubes in various diameters | small: tubes from cash register rolls medium: foil and plastic wrap rolls (toilet paper rolls are a bit flimsy) large: duct tape rolls and posting tubes see |
| Metal or glass rods | from the hardware store, or be creative (the long metal rod pictured below was “borrowed” from my fruit bowl!); twist clay around the rods at an angle for a fun look |
OTHER CURVED SHAPES
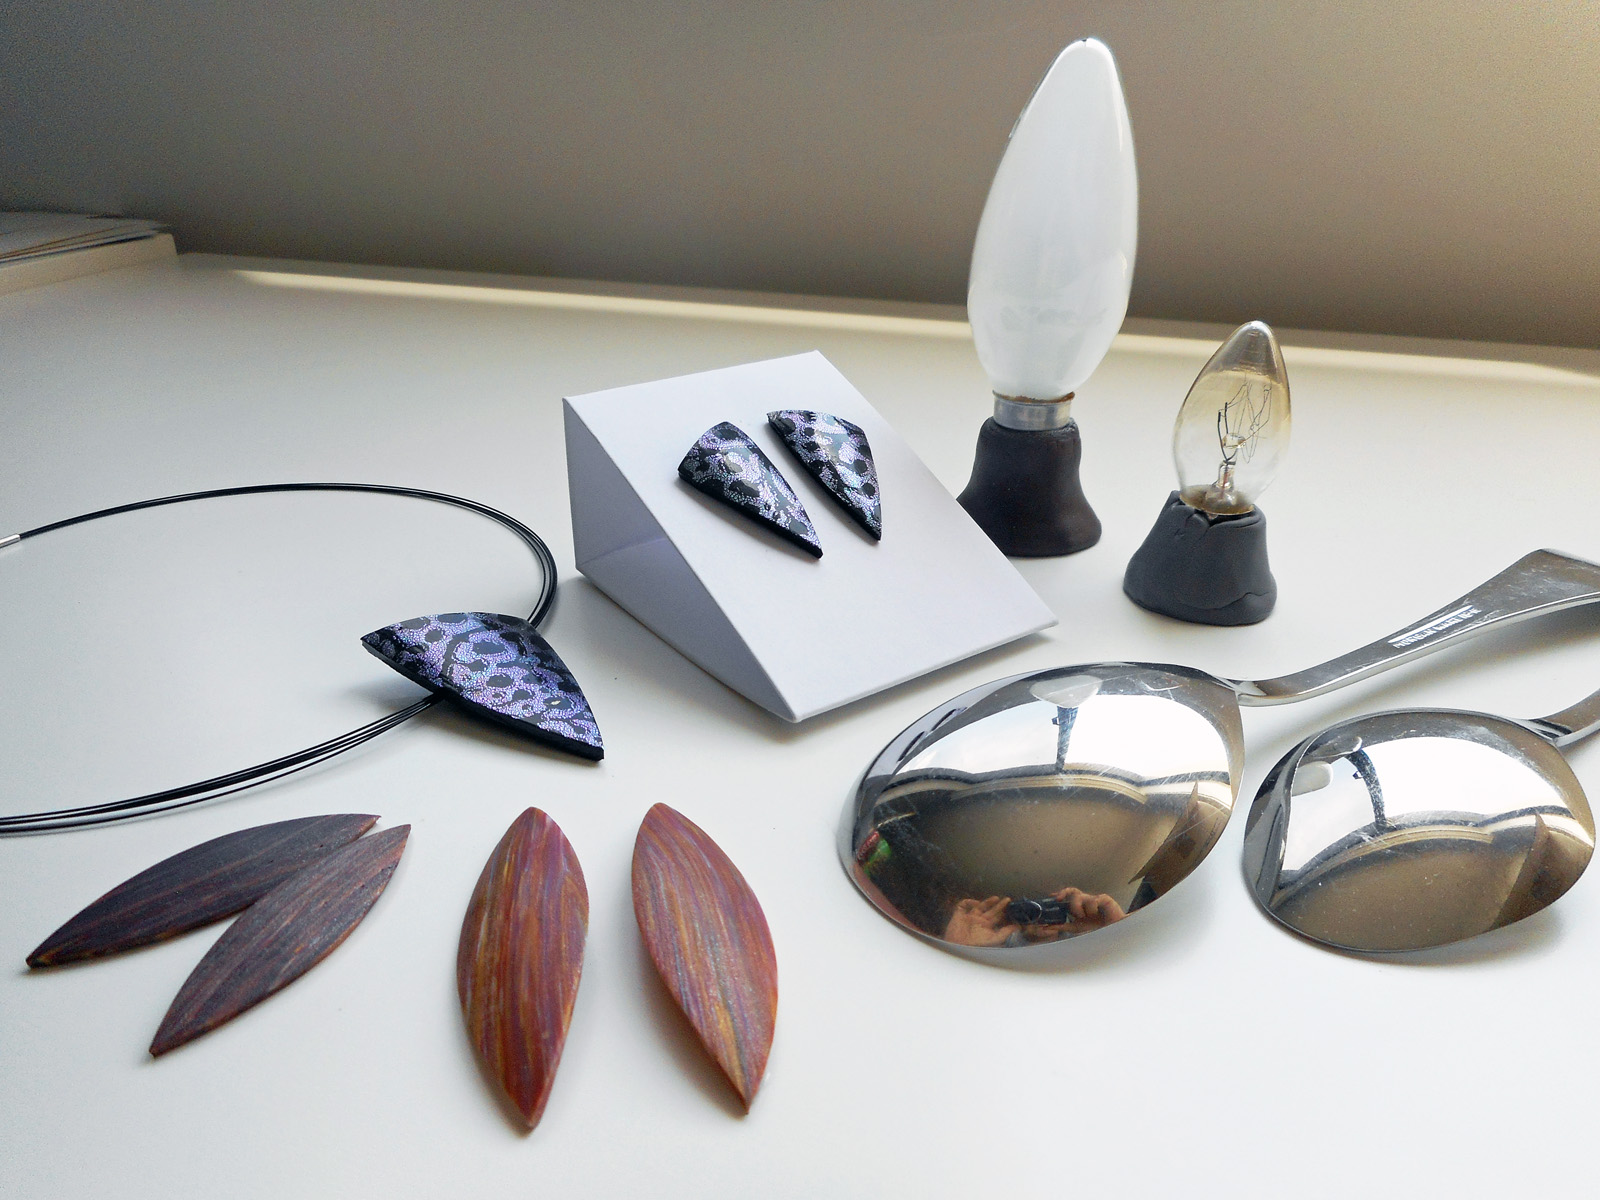
| Flame-shaped light bulbs | the incandescent kind with a filament, which are safe to put into the oven; press scrap clay around the base to hold the bulb upright; for bulbs with screw fittings you can screw them into and out of cured scrap clay bases as required |
| Spoons | |
| Curved glassware and ceramics |
CONICAL SHAPES
For conical shapes, either pointy cones or tapered curves:
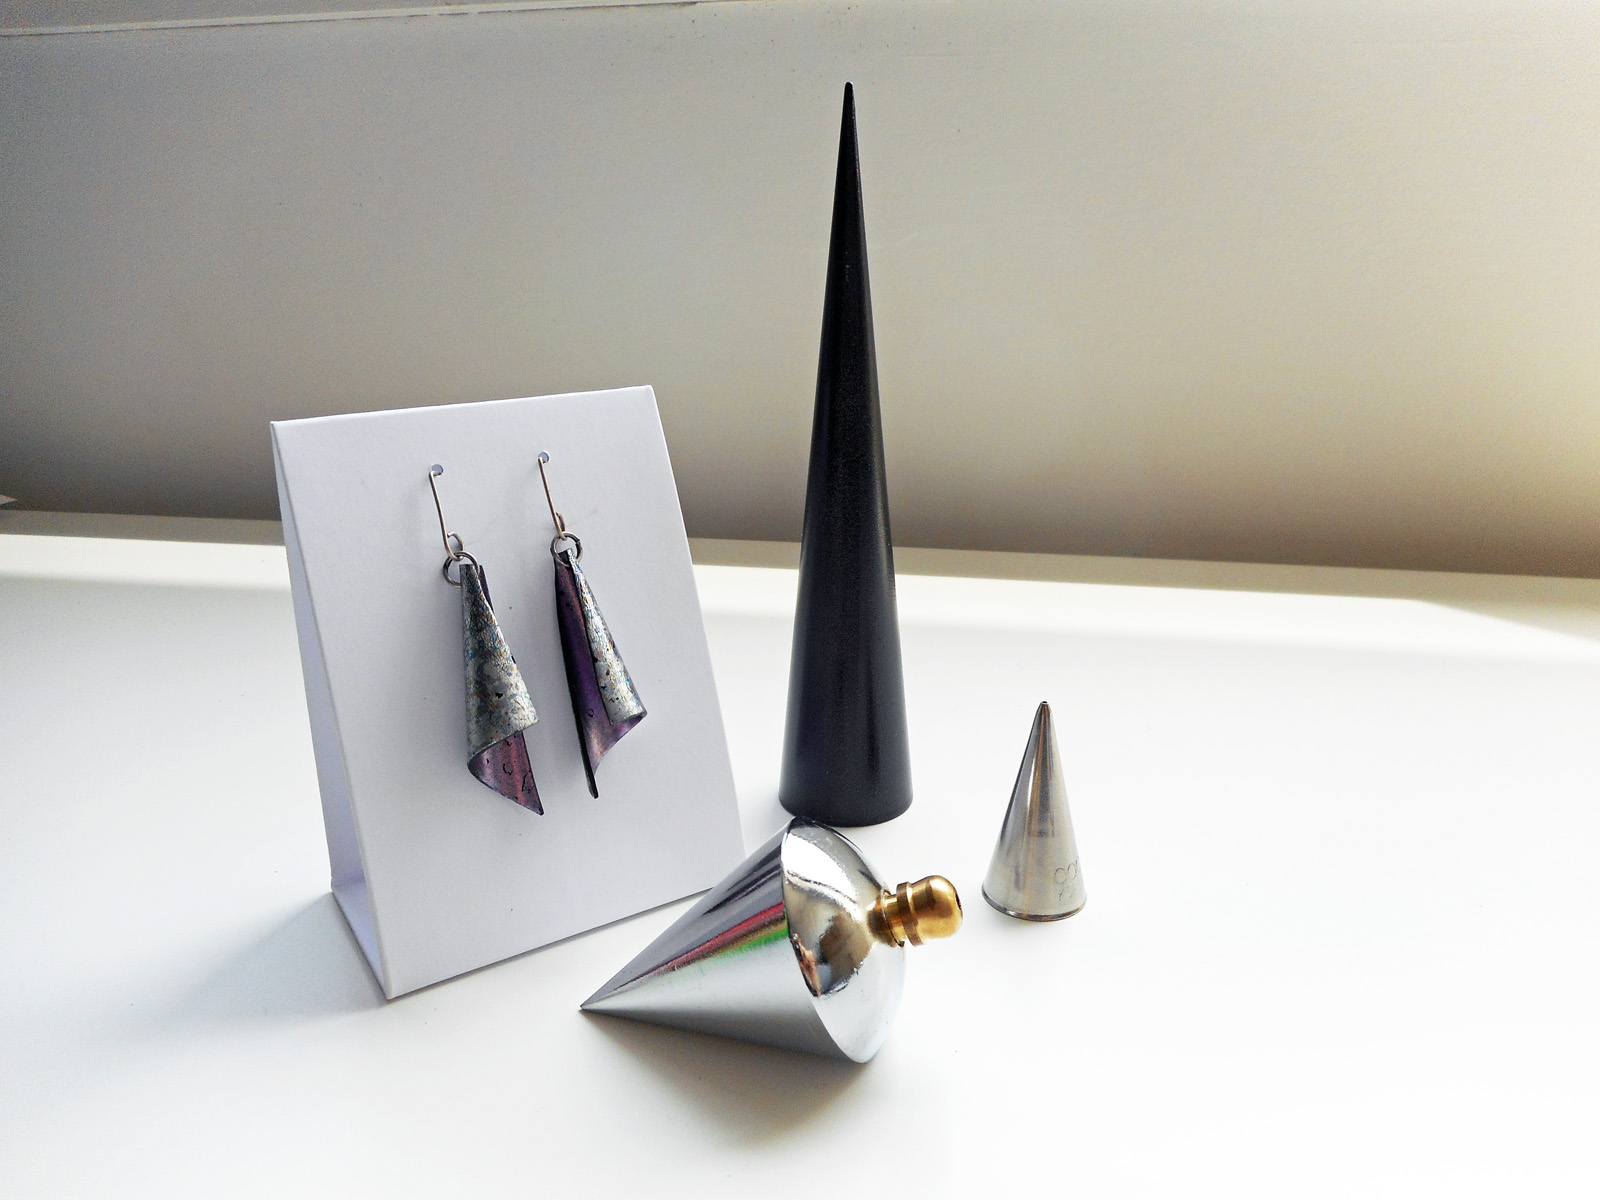
| Cream horn forms | these are available in several sizes and degrees of taper; most taper at roughly the same rate but you can occasionally find narrower cones which are even better for jewellery |
| Metal icing tips | the finest tips have almost no hole or gap at the top and are nice for making end caps and cones |
| Plumb bobs | my local Bunnings guys think I’m mad, but these make a nice cone that’s wider than you can get from a cream horn form or an icing tip |
| Tapered glassware | |
| Make your own conical forms from cardboard | cut a circle out of firm cardboard, cut a wedge out of the circle, then join the cut edges with sticky tape to make a cone; sticky tape can go into the oven see |
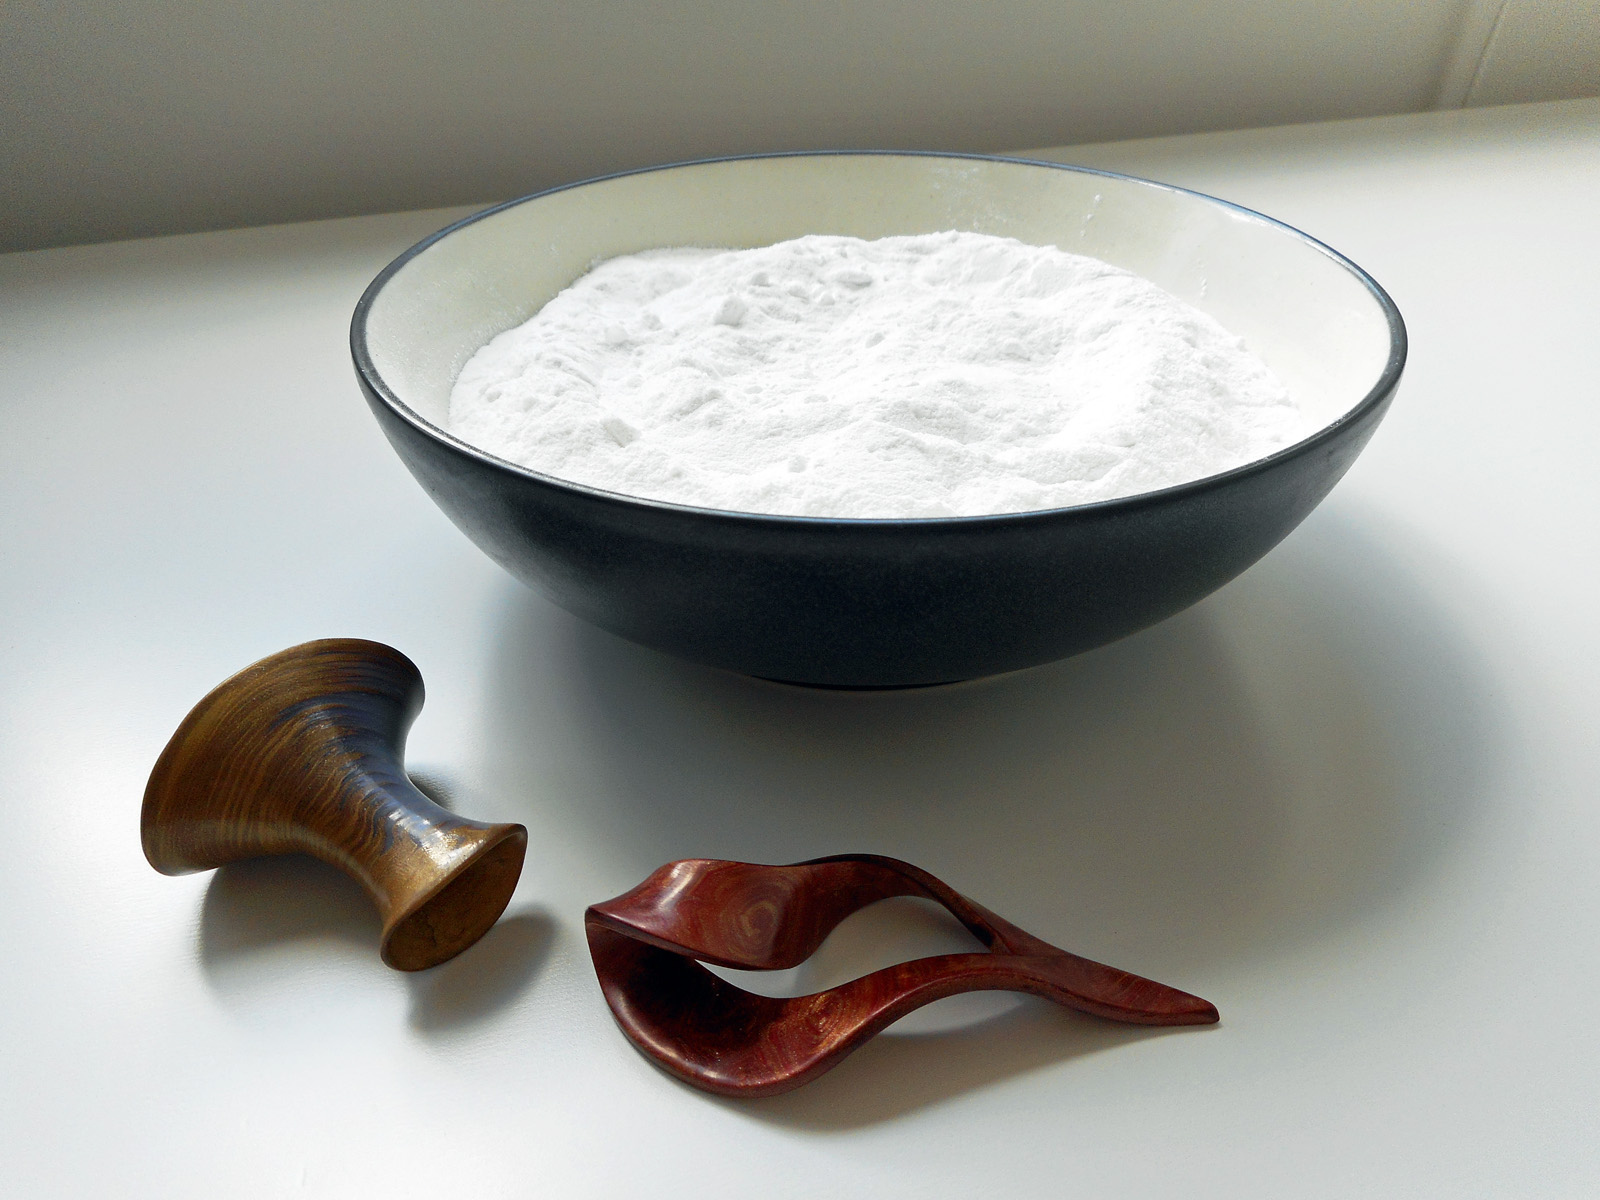
INTRICATE AND SCULPTURAL SHAPES
For intricate or sculptural shapes use a bed of bicarbonate of soka (a.k.a. bicarb soda, a.k.a. baking soda) in a baking pan or oven-proof bowl to support the clay and hold it in shape during baking. Make a hollow in the bicarb soda for the polymer clay piece, place it lightly in the hollow and then push the bicarb soda back around it so it’s fully supported. Put some more bicarb soda over the top to protect the clay in the oven. The bicarb soda is reusable; keep it in an airtight container between uses.
-
Important: Add extra baking time to compensate for the insulating effect of the bicarb soda and the fact that it acts as a heat sink.
-
If you have a convection or fan-forced oven don’t put the bicarb soda too near the fan or you’ll have a blizzard in your oven! (Cover the pan/container if necessary to prevent that.)
OTHER TIPS
-
Raw polymer clay doesn’t stick onto cardboard in the way in does to glass and metal, which can make it harder to keep the clay where you want it. To get around that problem, cover cardboard forms with aluminium foil first (just sticky tape it into place). The polymer clay will stick to the aluminium foil and stay where you want it on the form.
-
If you’re concerned that a glass or other form will break in the oven due to heat shock, put it — with your polymer clay already formed onto it — into the oven when the oven’s cold, then turn the oven on. At the end of the curing time, open the oven part way and let the form and its attached polymer clay cool naturally before removing them. (And remember to track the curing time from when the oven gets up to the proper temperature, not from when the cold oven was first turned on!)
-
Use two-part room-temperature vulcanising (RTV) silicone (e.g. Cold Mold, Mega Mold, etc.) to make versions of potential forms that are too large (e.g. the globular light fittings I mentioned above, which don’t fit into many benchtop ovens) or the wrong way round (e.g. dapping blocks). For example, for globular light fittings I’d put the silicone inside to fill part of the curve, let it set, then remove it (bend it to get it out of the opening where the batten fixture goes); for dapping blocks I just fill the depressions with silicone and let it set before removing it.
-
Make your own shaped forms from scrap polymer clay. To keep the polymer clay you’re shaping from bonding to your scrap clay form, either cover the form with a couple of coats of Repel Gel before placing the raw polymer clay on it (let the Repel Gel dry after each coat), or cover the form with aluminium foil.

Very interesting, I was wondering if I could use glass bottles/jars. Thank you.